
Previewing#
Previewing crops, or slices, the input data. It can remove unused regions and reduce processing time, particularly while sweeping parameters. See Enabling data preview to start configuring it.
Previewing in the loader#
The Standard tomography loader provides a preview parameter for selecting
part of the input data.
Note
HTTomo assumes a three-dimensional array whose axes are the angular dimension, the vertical detector (\(Y\)) and the horizontal detector (\(X\)), in that order (see Fig. 7).
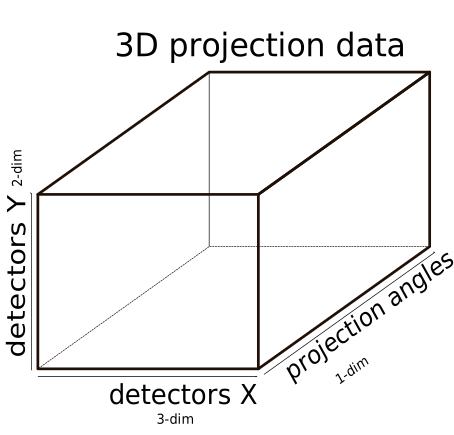
Fig. 7 3D projection data and their axes#
The preview parameter#
The preview parameter has one field per axis. Each field accepts
start and stop values:
preview:
 angles:
   start:
   stop:
 detector_y:
   start:
   stop:
 detector_x:
   start:
   stop:
The stop value is excluded, as in a Python slice. For example, the following selection loads projections 20 through 99:
preview:
  angles:
    start: 20
    stop: 100
Note
continuous_scan_subset also selects the angular range. When it is set,
it replaces preview.angles. The command-line
--continuous-scan-subset option takes precedence over both values. See
Continuous-scan subsets.
Using the full dataset#
Omitting preview selects the full dataset without cropping.
Enabling data preview#
Crop either or both detector dimensions to reduce the data size and accelerate processing.
Note
Removing blank detector regions reduces the reconstructed volume and can also accelerate post-processing.
The following projections show vertical and horizontal cropping.
Before cropping 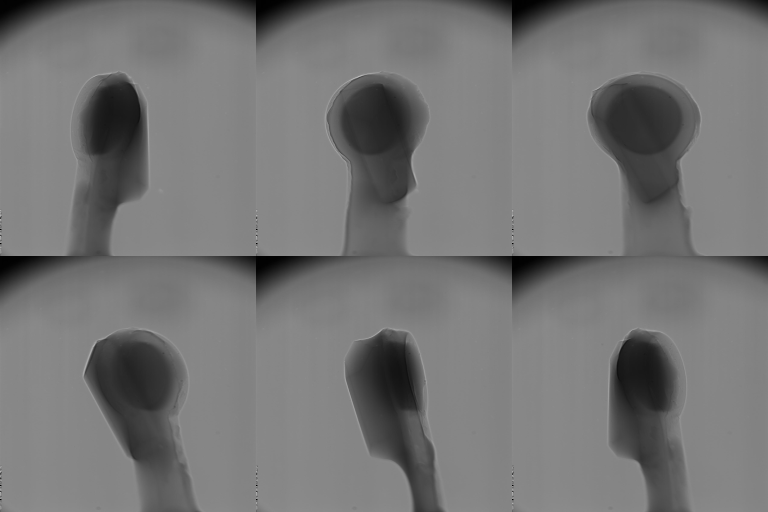 and after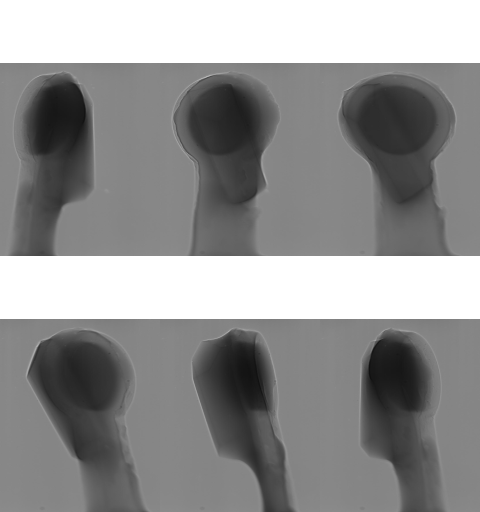
Crop blank regions from the top and bottom of the vertical detector (\(Y\)), as shown in Fig. 8. Inspect the raw projections to identify regions that remain blank throughout the scan.
preview:
  detector_y:
    start: 200
    stop: 1800
This selects slices 200 to 1799, producing a vertical dimension of 1600 pixels. The equivalent Python slice is
[:, 200:1800, :].
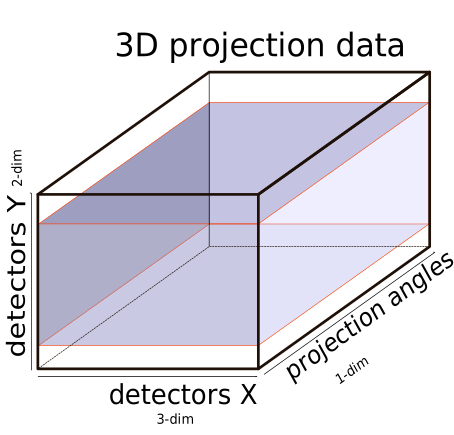
Fig. 8 Cropping detector- \(Y\) dimension of 3D projection data#
Crop blank regions from the left and right of the horizontal detector (\(X\)), as shown in Fig. 9.
Warning
Horizontal cropping can disrupt automatic centering and introduce reconstruction artefacts, particularly with iterative methods. Crop the \(X\) dimension conservatively.
preview:
  detector_x:
    start: 100
    stop: 2000
The equivalent Python slice is
[:, :, 100:2000].

Fig. 9 Cropping detector- \(X\) dimension of 3D projection data#
Combine both operations as follows:
preview:
  detector_y:
    start: 200
    stop: 1800
  detector_x:
    start: 100
    stop: 2000
Using begin, mid and end with offsets#
Use begin, mid and end instead of absolute indices
when the input dimensions are unknown. They may be used in the angular range
as well as the detector ranges. Adjust them with start_offset and
stop_offset:
preview:
  detector_x:
    start: begin
    start_offset: 100
    stop: end
    stop_offset: -100
  detector_y:
    start: mid
    start_offset: -50
    stop: mid
    stop_offset: 50
This removes 100 pixels from each end of detector_x, equivalent to
[100:-100], and selects 100 pixels centred on detector_y.
Note
begin, mid and end identify the first,
middle and last indices of a dimension, respectively.
Using mid by itself#
The detector_y and detector_x fields also accept mid
without start or stop:
preview:
  detector_y:
    mid
This selects the middle three slices of the specified dimension.
Warning
The angles field does not support mid.
Omitting preview fields#
You may omit unused dimension fields and start or stop values.
Omitting one or more dimension fields#
An omitted or empty dimension field selects that entire dimension. The following configuration therefore selects the full dataset:
preview:
  angles:
  detector_y:
  detector_x:
Omitting the start or stop fields#
For each dimension:
Omitting
startbegins at index 0.Omitting
stopcontinues to the end of the dimension.